How to build a custom PC gaming rig with high-performance components
Building a custom PC gaming rig with high-performance components can be an exciting and rewarding experience for avid gamers. By carefully selecting quality hardware and following these step-by-step instructions, you can create a powerful gaming machine that will deliver exceptional performance for years to come.
Step 1: Choose the right components
Start by selecting the essential components for your gaming rig, including a high-end CPU, a powerful GPU, sufficient RAM, a reliable motherboard, a fast SSD, and a quality power supply unit. Make sure the components are compatible with each other to avoid compatibility issues later on.
Step 2: Assemble the components
Carefully follow the manufacturer's instructions to install the CPU, GPU, RAM, SSD, motherboard, and power supply unit into the case. Take your time to ensure that each component is securely attached and connected correctly.
Step 3: Install the operating system
Once the hardware is assembled, install your preferred operating system, such as Windows or Linux. Make sure to install all the necessary drivers and updates to ensure optimal performance.
Step 4: Customize your gaming rig
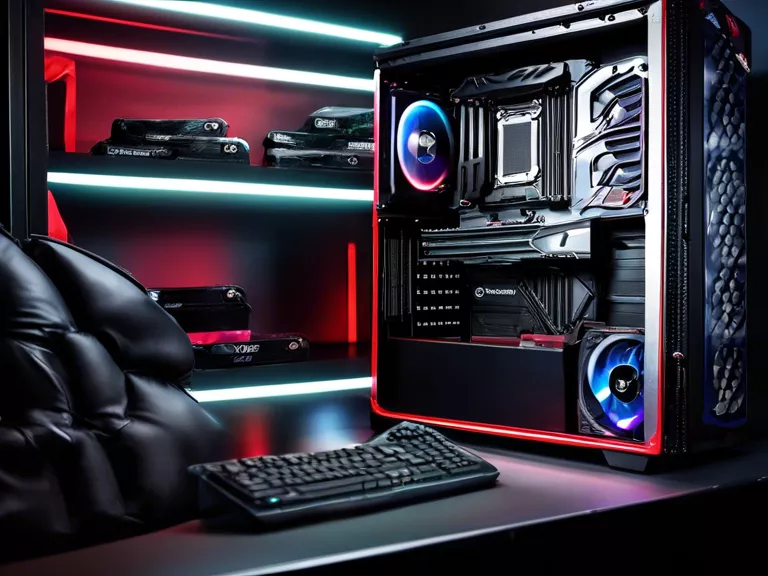
Personalize your gaming rig by adding RGB lighting, cable management solutions, and other accessories to enhance its appearance and functionality. Consider adding additional cooling solutions to keep the components running cool and quiet during intense gaming sessions.
Step 5: Test and optimize
Before diving into your favorite games, run benchmarking tests to ensure that your gaming rig is running smoothly. Make any necessary adjustments to optimize performance, such as overclocking the CPU or GPU within safe limits.
By following these steps and investing in high-performance components, you can build a custom PC gaming rig that will provide an immersive gaming experience and handle the latest titles with ease.